介绍
在 Linux 和 MacOS 上用 Emacs 收发邮件有很多工具和教程,但是在 Windows 上基本不可行。我一直在 Windows 上使用 Emacs,之前用 Foxmail 处理邮件,现在想把邮件处理和 org mode 的
agenda 系统联系起来,所以就研究了一套能够正常在 Emacs 中处理邮件的方案。
这套方案用到了三个工具:offlineimap, mu, wanderlust
- offlineimap 通过 imap 协议将邮件以 Maildir 的格式同步到本地
- mu 对同步到本地的邮件建立索引,能够快速根据各种条件查找邮件
- wanderlust 是一个 Emacs 插件,在 Emacs 中通过它来阅读及处理邮件
下面让我们一步一步的来配置。
offlineimap
安装
在 Windows 上,我们只能从源码安装,首先用 git clone 代码,我们用 python3 版本的 offlineimap3
1
| git clone https://github.com/OfflineIMAP/offlineimap3
|
clone 下来后,进入到项目直接运行 offlineimap.py 文件就行
1
| python offlineimap.py --help
|
配置
offlineimap 的配置文件默认路径为 ~/.offlineimaprc ,我们也可以放在任何地方,通过命令的 -c 选项指定配置文件。
仓库根目录下有一个 offlineimap.conf 文件,里面包括所有的配置项,每个配置项都有解释。
下面是我的配置文件,每项都有注释:
  1
  2
  3
  4
  5
  6
  7
  8
  9
 10
 11
 12
 13
 14
 15
 16
 17
 18
 19
 20
 21
 22
 23
 24
 25
 26
 27
 28
 29
 30
 31
 32
 33
 34
 35
 36
 37
 38
 39
 40
 41
 42
 43
 44
 45
 46
 47
 48
 49
 50
 51
 52
 53
 54
 55
 56
 57
 58
 59
 60
 61
 62
 63
 64
 65
 66
 67
 68
 69
 70
 71
 72
 73
 74
 75
 76
 77
 78
 79
 80
 81
 82
 83
 84
 85
 86
 87
 88
 89
 90
 91
 92
 93
 94
 95
 96
 97
 98
 99
100
101
102
103
104
105
106
107
108
109
110
111
112
113
114
115
116
117
118
119
120
| # 通用配置
[general]
# 帐号配置名称,对应下面的 [Account foxmail] 和 [Account 163]
accounts = foxmail, 163
# 同时同步 2 个帐号
maxsyncaccounts = 2
# 设置 socktimeout 为 60s 防止 offlineimap 不能正常处理电脑休眠
# 详情请看 http://www.offlineimap.org/doc/offlineimap.html 的 Known Issues
socktimeout = 60
# foxmail 帐号配置
[Account foxmail]
# 指定本地配置名称,对应下面的 [Repository foxmail-Local]
localrepository = foxmail-Local
# 指定远程配置名称,对应下面的 [Repository foxmail-Remote]
remoterepository = foxmail-Remote
# 有些邮件文件夹名称是中文,这个设置为 True 才能正常读取
utf8foldernames = True
# 默认同步下来的每封邮件的文件名包括 ":" 符号,Windows 下不支持冒号作为文件名
# 这个选项设置为 yes 后,":" 会被替换成 "!"
# 详情请看 http://www.offlineimap.org/doc/offlineimap.html 的 Known Issues
maildir-windows-compatible = yes
# 我们让 offlineimap 保持运行,因为 offlineimap 支持 imap 的 idle 协议,
# 收到邮件后能够立马同步,实时通知
# 这里 15 表示每 15 分钟同步一次
autorefresh = 15
# 每次同步后运行的命令
# 这里表示同步过后调用 mu index 索引邮件
# 在没有配置好 mu 之前先把这个注释掉
postsynchook = mu index
# 本地配置
[Repository foxmail-Local]
# 同步的类型为 Maildir
type = Maildir
# 存放本地的文件夹目录
localfolders = ~/mails/[email protected]
# 邮件文件夹名字转换
# 本地目录 inbox 对应远程的 INBOX, sent 对应 Sent Messages
nametrans = lambda foldername: {'inbox': 'INBOX',
'sent': 'Sent Messages',
}.get(foldername, foldername)
# 远程配置
[Repository foxmail-Remote]
# 协议为 IMAP
type = IMAP
# 主机
remotehost = imap.qq.com
# 帐号
remoteuser = xhcoding
# 密码,qq 邮箱需要在网页上生成授权码,授权码就是密码
# 这里密码可以用其它方式读取,具体的方式可以网上搜索,我就直接写在这里
remotepass = xxxxxxxxxxxxxxxxxxxxx
# 是否用 ssl
ssl = true
# 证书文件位置,必须指定一个,可以在电脑上随便找一个 ca-bundle.crt 用
# 不一定是 msys 的这个
sslcacertfile = C:\msys64\usr\ssl\certs\ca-bundle.crt
# 文件夹过滤,邮箱一般好几个文件夹,我这里只收取 INBOX 和 Sent Messages
# 即收件箱和已发送
folderfilter = lambda foldername: foldername in ['INBOX', 'Sent Messages']
# 名字转换,INBOX 文件夹保存到本地的 inbox 文件夹,Send Messages 保存到本地 sent 文件夹
nametrans = lambda foldername: {'INBOX': 'inbox',
'Sent Messages': 'sent',
}.get(foldername, foldername)
# idle 协议监听的文件夹,只需要监听收件箱就够了
idlefolders = ['INBOX']
# 163 邮箱配置,配置项和上面一样
# 163 邮箱服务端不支持 idle 协议,所以不能实时获取新邮件
# 163 邮箱也需要生成授权码作为密码
[Account 163]
localrepository = 163-Local
remoterepository = 163-Remote
utf8foldernames = True
maildir-windows-compatible = yes
autorefresh = 15
postsynchook = mu index
[Repository 163-Local]
type = Maildir
localfolders = ~/mails/[email protected]
nametrans = lambda foldername: {'inbox': 'INBOX',
'sent': '已发送',
}.get(foldername, foldername)
[Repository 163-Remote]
type = IMAP
remotehost = imap.163.com
remoteuser = [email protected]
remotepass = xxxxxxxxxxxxxxxxxxxx
ssl = true
sslcacertfile = C:\msys64\usr\ssl\certs\ca-bundle.crt
folderfilter = lambda foldername: foldername in ['INBOX', '已发送']
nametrans = lambda foldername: {'INBOX': 'inbox',
'已发送': 'sent',
}.get(foldername, foldername)
|
配置好之后运行 python offlineimap.py 就能同步邮件到本地了。运行后的效果如下:
同步过后,mails 目录的结构如下:
启动时运行 offlineimap
打包
每次开个终端运行 offlineimap 肯定是不方便的,offlineimap3 也没有打包成 exe,无法直接运行。所以我们先用 pyinstaller 将 offlineimap3 打包成单 exe 。
安装 pyinstaller, pip install pyinstaller
进入项目目录,运行 pyinstaller.exe -F offlineimap.py -w , 会在 dist 目录生成 offlineimap.exe
现在直接运行 offlineimap.exe 就能同步邮件了。
为了保证 offlineimap.exe 出现问题挂掉之后能够重新启动,我们用一个守护程序来保证 offlineimap.exe 异常退出后能够重启。
守护程序下载地址:https://github.com/xhcoding/.emacs.d/tree/main/bin/common-daemon.exe
用法: common-daemon.exe offlineimap.exe [args]
设置开机启动:
按 WIN + R , 输入 shell:startup 打开启动目录
新建一个快捷方式,目标设置为 common-daemon.exe的路径 offlineimap.exe的路径
比如我的目标为: C:\Users\xhcoding\.emacs.d\bin\common-daemon.exe C:\Users\xhcoding\.emacs.d\bin\offlineimap.exe
mu
安装 mu
Windows 上构建 mu 需要 msys ,所以首先需要安装 msys2 : https://www.msys2.org/
安装完成后打开 MSYS 终端,如下图:
根据 https://github.com/msys2-unofficial/MSYS2-packages/tree/master/mu 的步骤构建 mu
完成后可以将 mu.exe 的路径加到环境变量 PATH 中,也可以将 mu.exe 和它依赖的 dll 拷贝到单独的目录,将这个目录加到 PATH 中,我一般用第二种方式。
配置 mu
首先初始化数据库
1
2
| mu init -m ~/mails
# ~/mails 就是 offlineimap 同步的本地目录
|
索引邮件
查找邮件索引创建成功后,使用 mu find 命令查找邮件。
注意 : 使用中文作为查询条件时,有些时候会查不到,比如上图如果我用 mu find "没有高亮" 就会查不出来结果,这是因为 mu 是根据分词建立的倒排索引, “没有高亮” 在分词时没有作为一个词语,就没有对应的索引。
解决方法就是以每个字作为查询条件,组合四个字的结果: mu find "没 有 高 亮"
关于倒排索引: Elasticsearch介绍与简单的使用
Wanderlust
关于 Wanderlust 的介绍及配置:Emacs中的邮件客户端–WanderLust
Wanderlust 的官方文档:https://wanderlust.github.io/wl-docs/wl.html
安装
和其它 Emacs 插件一样,用你喜欢的方式安装。
配置
查看邮件配置
Wanderlust 中 Folder 就是一个邮件文件夹,它支持很多种类型的 Folder ,我这里只用它的 Maildir Folder 。
Folder 的配置文件默认位置是 ~/.folders , 可以设置 wl-folders-file 值改变位置。
下面是我的 folders 配置:
. 开头表示 Folder 的类型为 Maildir ,后面就是本地的路径,然后是显示的名称
配置好后在 emacs 里运行 M-x wl ,初始化完成后显示成下面这样:
这个界面叫 Folder Mode ,文档:https://wanderlust.github.io/wl-docs/wl.html#Folder
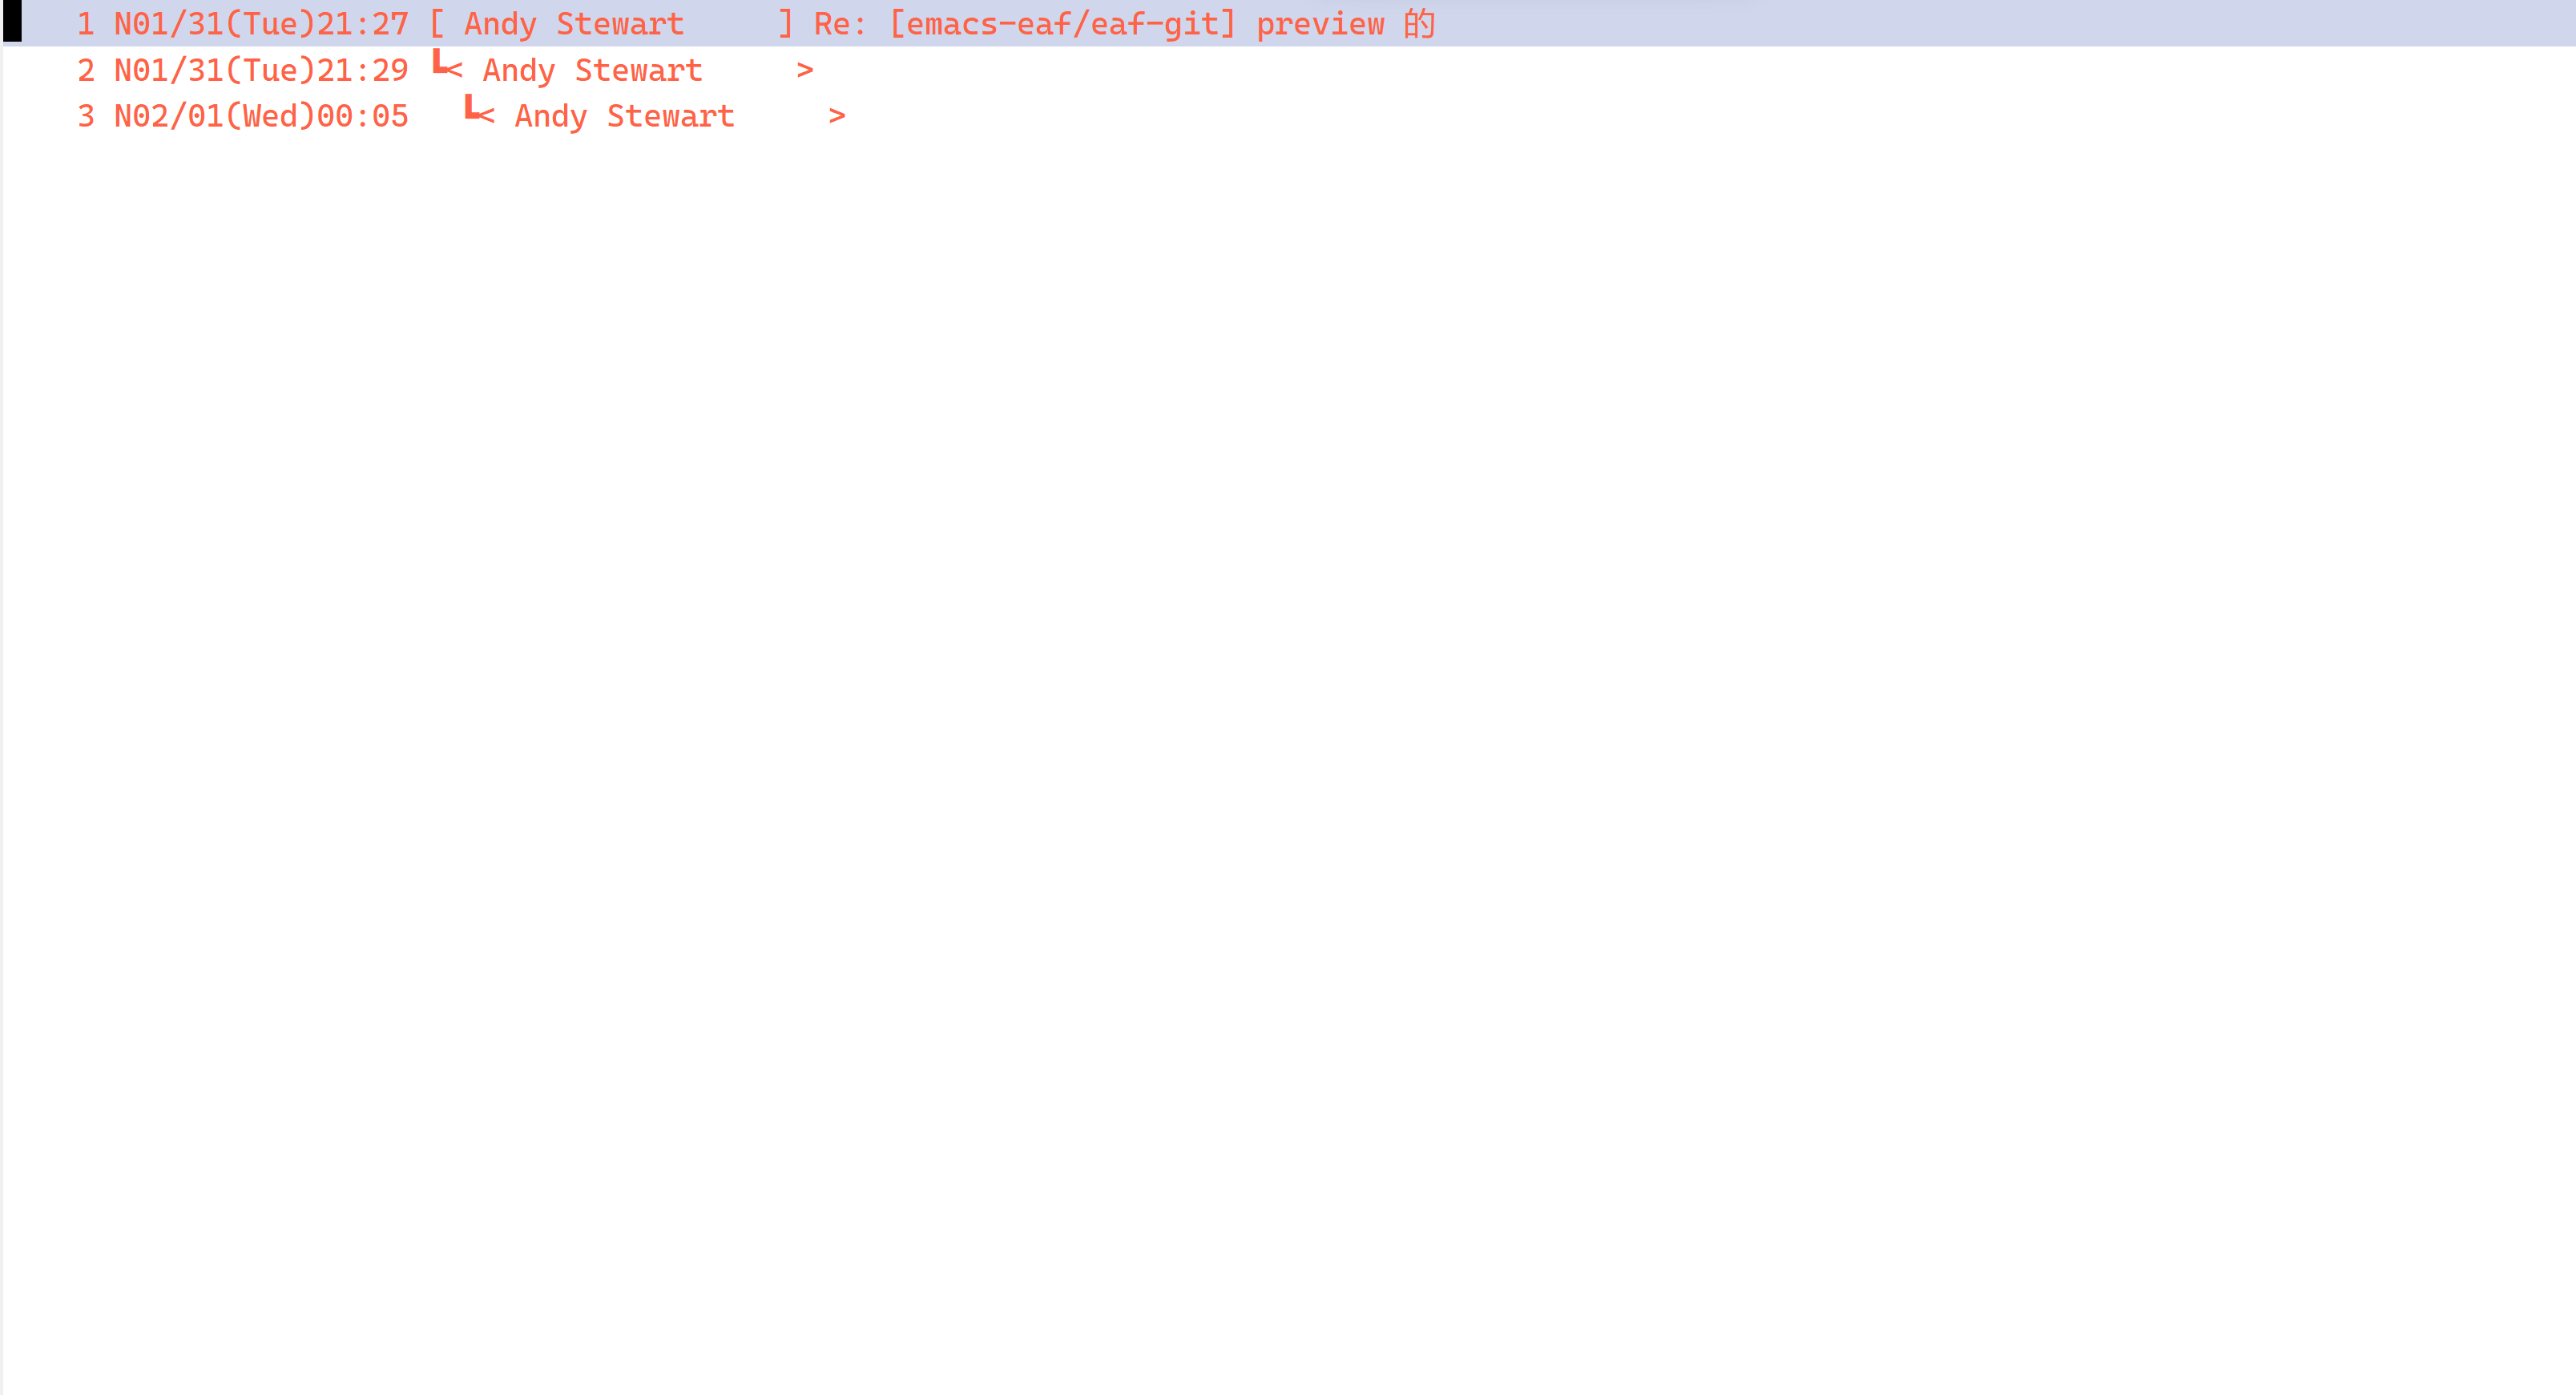
选择一个 Folder 进入 Summary Mode ,显示邮件列表,文档:https://wanderlust.github.io/wl-docs/wl.html#Summary
邮件通知配置
我们用 alert-toast 插件在右下角弹出通知。
1
2
3
4
5
| (defun my--notify-new-mail-arrived (number)
(alert-toast-notify `(:title "Wanderlust" :message ,(format "你有 %s 封未读邮件" number))))
;; 每次有新邮件时 wl 会运行 wl-biff-new-mail-hook
(add-hook 'wl-biff-new-mail-hook #'my--notify-new-mail-arrived)
|
注意: 要启动 wl 后才会定时检测
搜索邮件
文档:https://wanderlust.github.io/wl-docs/wl.html#Quick-Search
设置 wl-quicksearch-folder
1
| (setq wl-quicksearch-folder "[]")
|
wl 默认支持 mu 后端,但是如前面提到的 mu 返回的路径问题,默认的没有办法正常解析,我们自己注册一个。
 1
 2
 3
 4
 5
 6
 7
 8
 9
10
11
12
13
14
15
16
17
18
19
20
21
22
23
24
25
26
27
28
29
30
31
| ;; windows 上 mu find 返回的路径以 /cygdrive/ 开头,我们需要自己处理一下
(defun my--elmo-search-parse-filename-list ()
(let (bol locations)
(goto-char (point-min))
(while (not (eobp))
(beginning-of-line)
(when (and elmo-search-use-drive-letter
(looking-at "^\\(/cygdrive/\\)?\\([A-Za-z]\\)\\([:|]\\)?/"))
(replace-match "/\\2:/")
(beginning-of-line))
(unless (looking-at "^file://")
(insert "file://")
(beginning-of-line))
(setq bol (point))
(end-of-line)
(setq locations (cons (buffer-substring bol (point)) locations))
(forward-line))
(nreverse locations)))
(elmo-search-register-engine
'mu-msys 'local-file
:prog "mu"
:args '("find" elmo-search-split-pattern-list "--fields" "l")
:charset 'utf-8
:parser 'my--elmo-search-parse-filename-list)
(setq elmo-search-default-engine 'mu-msys)
;; mu 的输入要用 gbk 编码,不然无法查找中文
(add-to-list 'process-coding-system-alist '("mu" utf-8 . gbk))
|
在 Folder 或者 Summary 界面运行 wl-quicksearch-goto-search-folder-wrapper 命令搜索,默认快捷键为 ' 。
比如我按 ' 后输入 “没 有 高 亮” 就会出现之前在命令行搜索的 3 封邮件。
发送邮件配置
compose-mail 即 C-x m 调用 wl
1
2
3
4
5
6
7
8
9
| (if (boundp 'mail-user-agent)
(setq mail-user-agent 'wl-user-agent))
(if (fboundp 'define-mail-user-agent)
(define-mail-user-agent
'wl-user-agent
'wl-user-agent-compose
'wl-draft-send
'wl-draft-kill
'mail-send-hook))
|
smtp 配置
1
2
3
4
5
6
7
8
| (setq wl-from "xhcoding <[email protected]>"
wl-smtp-posting-server "smtp.qq.com"
wl-smtp-posting-user "xhcoding"
wl-smtp-authenticate-type "login"
wl-smtp-posting-port 465
wl-smtp-connection-type 'ssl
wl-local-domain "qq.com"
wl-message-id-domain "smtp.qq.com")
|
wl 初始化时会载入 ~/.wl ,我们可以把一些私人的配置放到这里面,比如上面的 smtp 配置,设置 wl-init-file 的值改变默认路径。
配合 org-capture
安装 org-contrib 包,里面有个 ol-wl.el 包让 org link 支持 wanderlust 。将 ol-wl 加到 org-modules 里加载这个包。
1
| (add-to-list 'org-modules 'ol-wl)
|
在 capture template 里加一个对应的模板
1
2
3
4
| (setq org-capture-templates `(("e" "Inbox [Mail]" entry
(file ,my-org-inbox-file)
,(concat "* TODO Process \"%a\" %?\n"
"/Entered on/ %U"))))
|
在 wl 的邮件列表里运行 org-capture 选择 e 就能将对应的邮件链接 Capture 到 inbox 文件中。
总结
按照上面配置后,就能够进行基本的邮件处理了,Wanderlust 还有很多高级功能,后面用到了再记录下来。
完整的配置:A simple Emacs config on Windows